

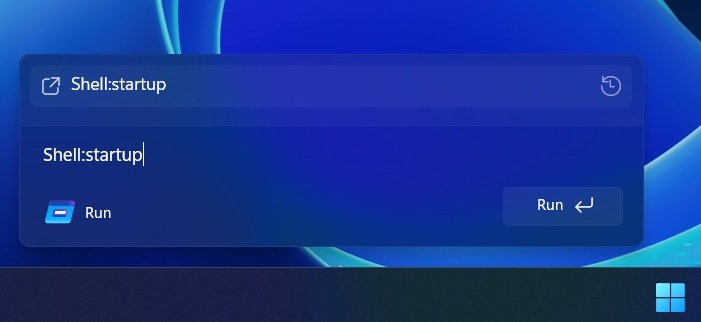
Microsoft is testing a new Windows Run, but don’t worry. It won’t replace the existing legacy Windows Run dialog that we all have grown up using. It’s here to stay, but you’ll be able to switch to a new Windows Run, which has Fluent Design and rounded corners, aka “modern” design. This optional Windows Run could also get new features at some point.
Unlike Windows Search, Run is mostly used to directly run something, such as cmd, regedit, or services.msc, etc. It doesn’t search your PC, as Run expects a file name or command. I personally use Windows Run as my text field for CTRL+ V, CTRL + and CTRL+C, but that’s a story for another day.
Run looks legacy and ignores dark mode because it’s based on very old UI code that Microsoft has never fully modernized. It’s a classic Win32 dialog using old system controls, and the code is probably 20+ years old because it first debuted in Windows 95. This could change soon.

As pointed out by Phantom on X, Microsoft is testing a WinUI 3-based Windows Run in Windows Server preview builds, and it’s also coming to consumer builds. This hides the original legacy Run dialog only when you manually toggle the “UI” upgrade.
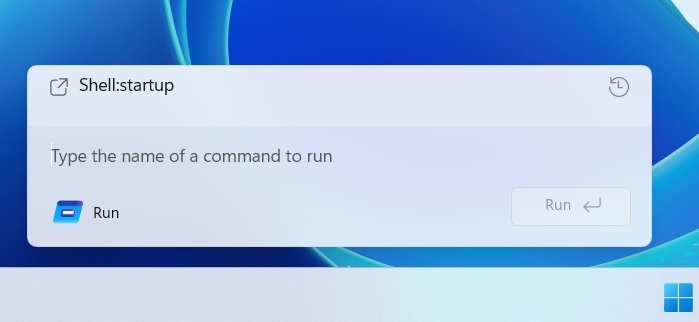
Microsoft is not redesigning the existing Windows Run. Instead, it has built a modern variant that runs separately and is completely optional, at least for now.
Don’t freak out… new Windows Run is optional
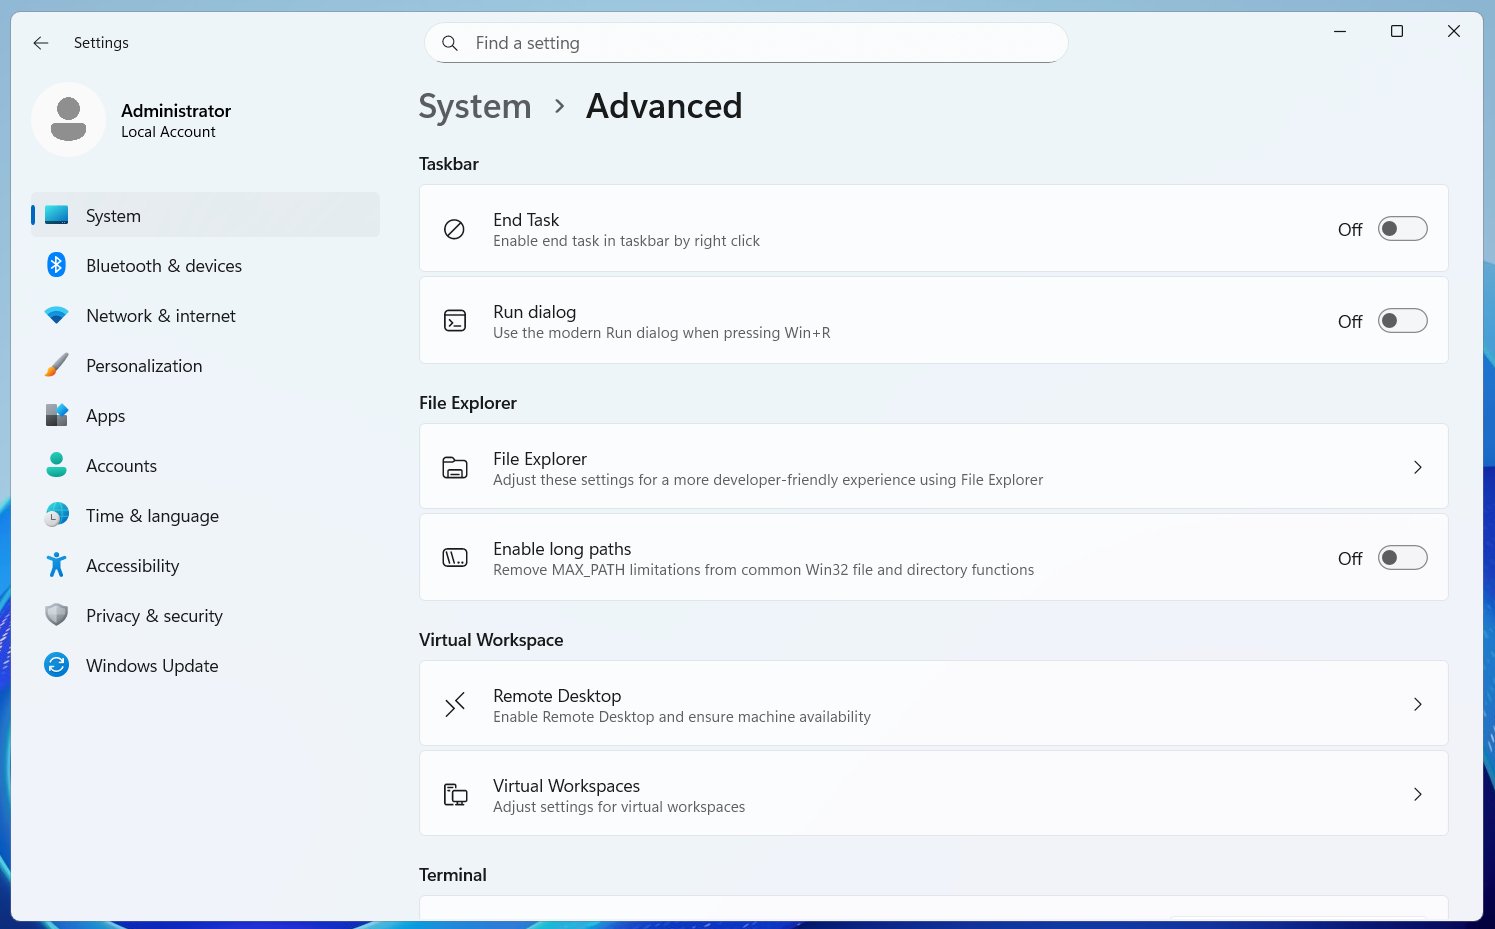
If you want to use the new Run, you will need to turn it on from Settings > System > Advanced settings. It’s toggled off by default because Microsoft understands some people are going to hate it, but my understanding is that this Run overhaul is going to be more than just applying Fluent Design principles.
Windows Latest understands that Microsoft is rebuilding Run in WinUI 3 as an optional “advanced” setting because it plans to introduce new features. I don’t think it’s going to be Copilot, but this Run might handle developer-related tasks better.
Now, that’s an assumption on my end, and it’s based on the simple fact that the new Run is part of ‘Advanced Settings.’
For those unaware, Advanced Settings are meant for developers. It has controls for Virtual Workspaces, Windows Sandbox, GitHub integration in File Explorer, the “End task” button for the Windows taskbar, and more. Also, Microsoft does not make “UI” upgrades an optional change.
Is Windows 11 finally heading in a good direction with ‘design’?
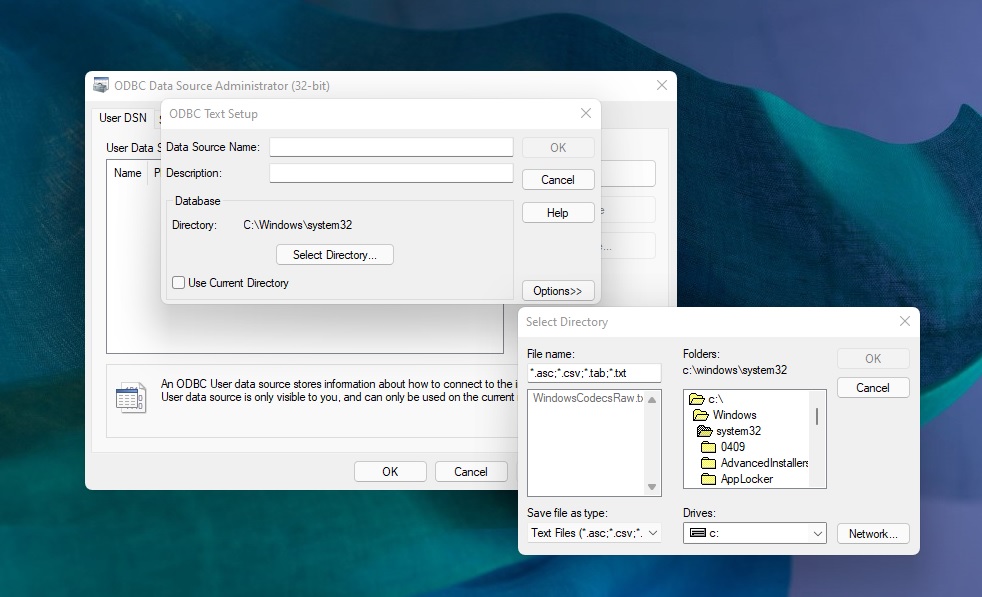
If you are wondering how bad the state of design is in Windows 11, remember that we still have dialogs from Windows 3.1. Windows 3.1 was released in April 1992. It was a 16-bit operating system and one of the first with a GUI. Granted, it was one of the greatest products at that point in time, but how do we still have it in Windows 11?
Unlike macOS, Windows is complex, and it’s supposed to maintain compatibility for decades-old software. Hell, you can even run an app built for Windows 98 on Windows 10 or even 11. This shows how versatile the operating system is, but that has its own cons, and one of those is how outdated it might look.
Windows 11 has slowly progressed, and we have a modern Task Manager and right-click menu, but you don’t see the same treatment for dialogs like Run.
Microsoft’s attempt to modernize the Windows Run feature could be just the beginning of a larger plan.
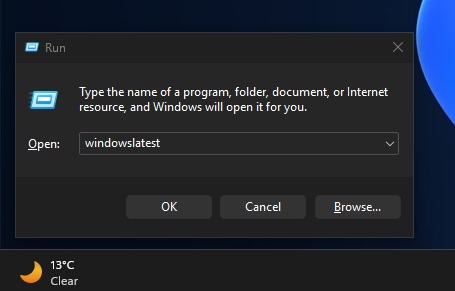
Microsoft is not abandoning those who prefer the legacy Run dialog, as the Windows 11 update also includes a dark-themed Run that looks and runs like before.
The post Windows 11 is getting a modern Windows Run (Win+R) built with WinUI 3, and it might get new features appeared first on Windows Latest


