The Completely Automated Public Turing test to tell Computers and Humans Apart (CAPTCHA) has become ingrained in internet browsing since personal computers gained momentum in the consumer electronics market. For nearly as long as people have been going online, web developers have sought ways to block spam bots.
The CAPTCHA service distinguishes between human and bot activity to keep bots out. Unfortunately, its methods are less than precise. In trying to protect humans, developers have made much of the web inaccessible to people with disabilities.
Authentication methods, such as CAPTCHA, typically use image classification, puzzles, audio samples, or click-based tests to determine whether the user is human. While the types of challenges are well-documented, their logic is not public knowledge. People can only guess what it takes to “prove” they are human.
What Is CAPTCHA?
A CAPTCHA is a reverse Turing test that takes the form of a challenge-response test. For example, if it instructs users to “select all images with stairs,” they must pick the stairs out from railings, driveways, and crosswalks. Alternatively, they may be asked to enter the text they see, add the sum of dice faces, or complete a sliding puzzle.
Image-based CAPTCHAs are responsible for the most frustrating shared experiences internet users have — deciding whether to select a square when only a small sliver of the object in question is in it.
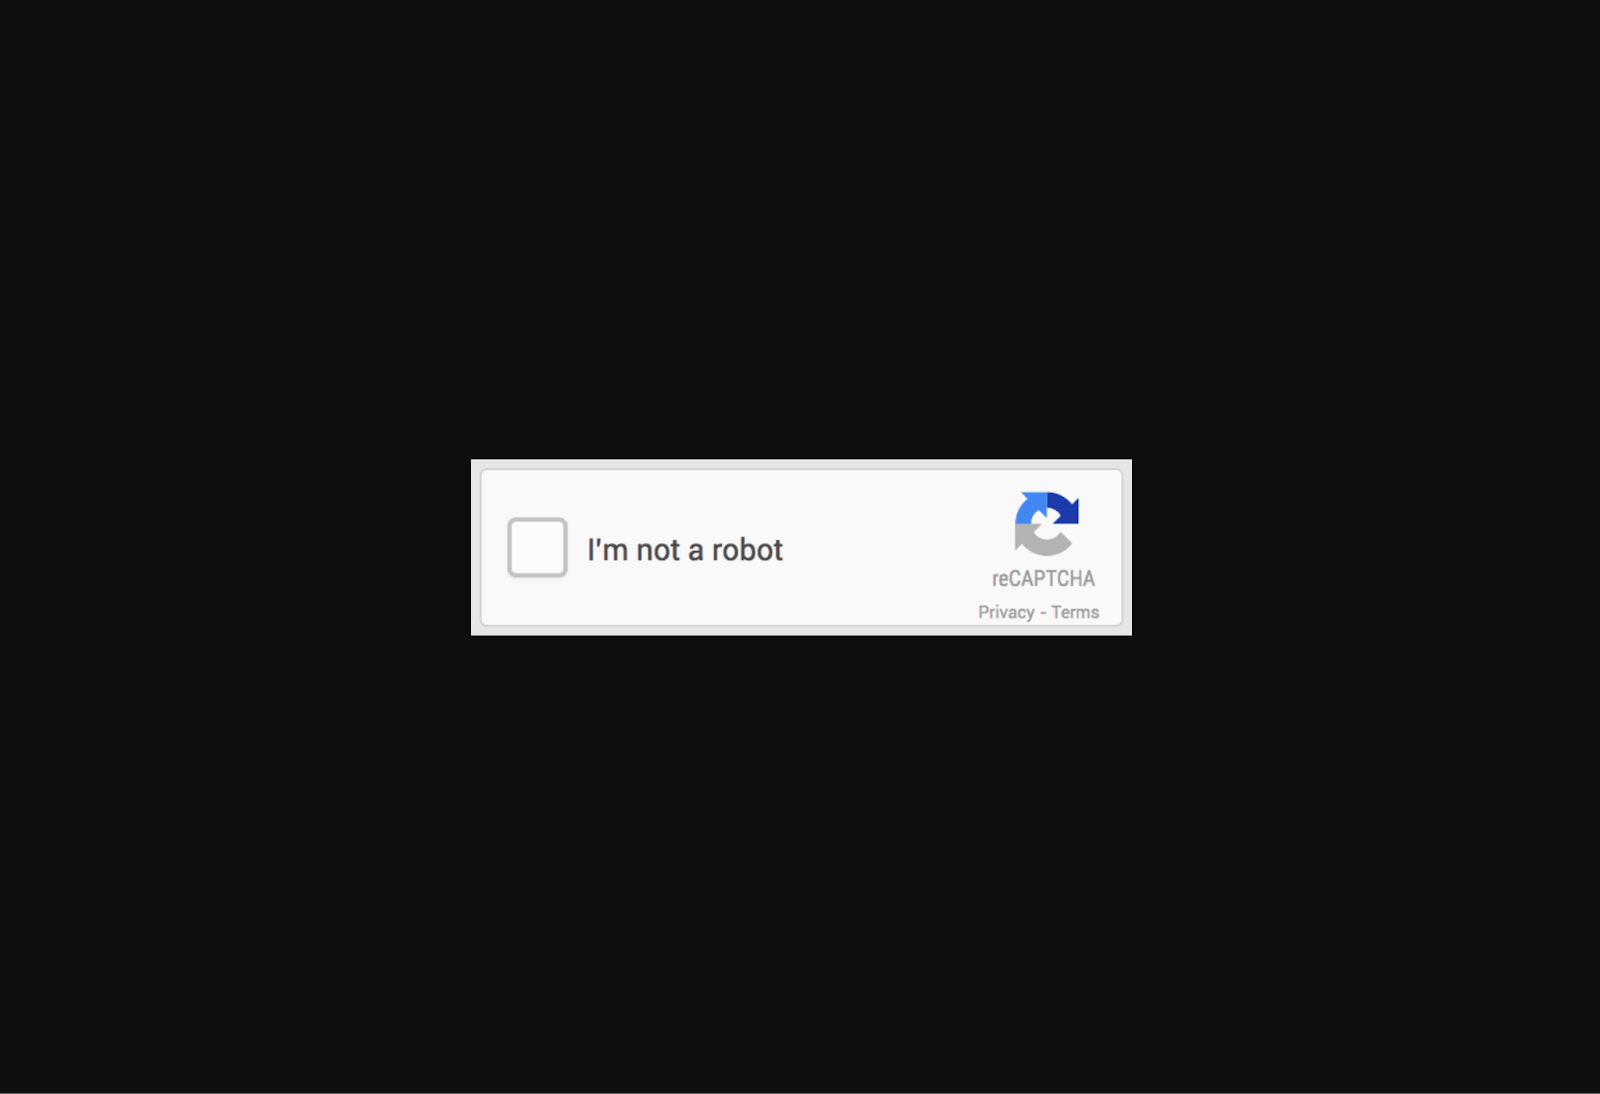
Regardless of the method, a computer or algorithm ultimately determines whether the test-taker is human or machine. This authentication service has spawned many offshoots, including reCAPTCHA and hCAPTCHA. It has even led to the creation of entire companies, such as GeeTest and Arkose Labs. The Google-owned automated system reCAPTCHA requires users to click a checkbox labeled “I’m not a robot” for authentication. It runs an adaptive analysis in the background to assign a risk score. hCAPTCHA is an image-classification-based alternative.
Other authentication methods include multi-factor authentication (MFA), QR codes, temporary personal identification numbers (PINs), and biometrics. They do not follow the challenge-response formula, but serve fundamentally similar purposes.
These offshoots are intended to be better than the original, but they often fail to meet modern accessibility standards. Take hCaptcha, for instance, which uses a cookie to let you bypass the challenge-response test entirely. It’s a great idea in theory, but it doesn’t work in practice.
You’re supposed to receive a one-time code via email that you send to a specific number over SMS. Users report receiving endless error messages, forcing them to complete the standard text CAPTCHA. This is only available if the site explicitly enabled it during configuration. If it is not set up, you must complete an image challenge that does not recognize screen readers.
Even when the initial process works, subsequent authentication relies on a third-party cross-site cookie, which most browsers block automatically. Also, the code expires after a short period, so you have to redo the entire process if it takes you too long to move on to the next step.
Why Do Teams Use CAPTCHA And Similar Authentication Methods?
CAPTCHA is common because it is easy to set up. Developers can program it to appear, and it conducts the test automatically. This way, they can focus on more important matters while still preventing spam, fraud, and abuse. These tools are supposed to make it easier for humans to use the internet safely, but they often keep real people from logging in.
These tests result in a poor user experience overall. One study found users wasted over 819 million hours on over 512 billion reCAPTCHA v2 sessions as of 2023. Despite it all, bots prevail. Machine learning models can solve text-based CAPTCHA within fractions of a second with over 97% accuracy.
A 2024 study on Google’s reCAPTCHA v2 — which is still widely used despite the rollout of reCAPTCHA v3 — found bots can solve image classification CAPTCHA with up to 100% accuracy, depending on the object they are tasked with identifying. The researchers used a free, open-source model, which means that bad actors could easily replicate their work.
Why Should Web Developers Stop Using CAPTCHA?
Authentication methods like CAPTCHA have an accessibility problem. Machine learning advances forced these services to grow increasingly complex. Even still, they are not foolproof. Bots get it right more than people do. Research shows they can complete reCAPTCHA within 17.5 seconds, achieving 85% accuracy. Humans take longer and are less accurate.
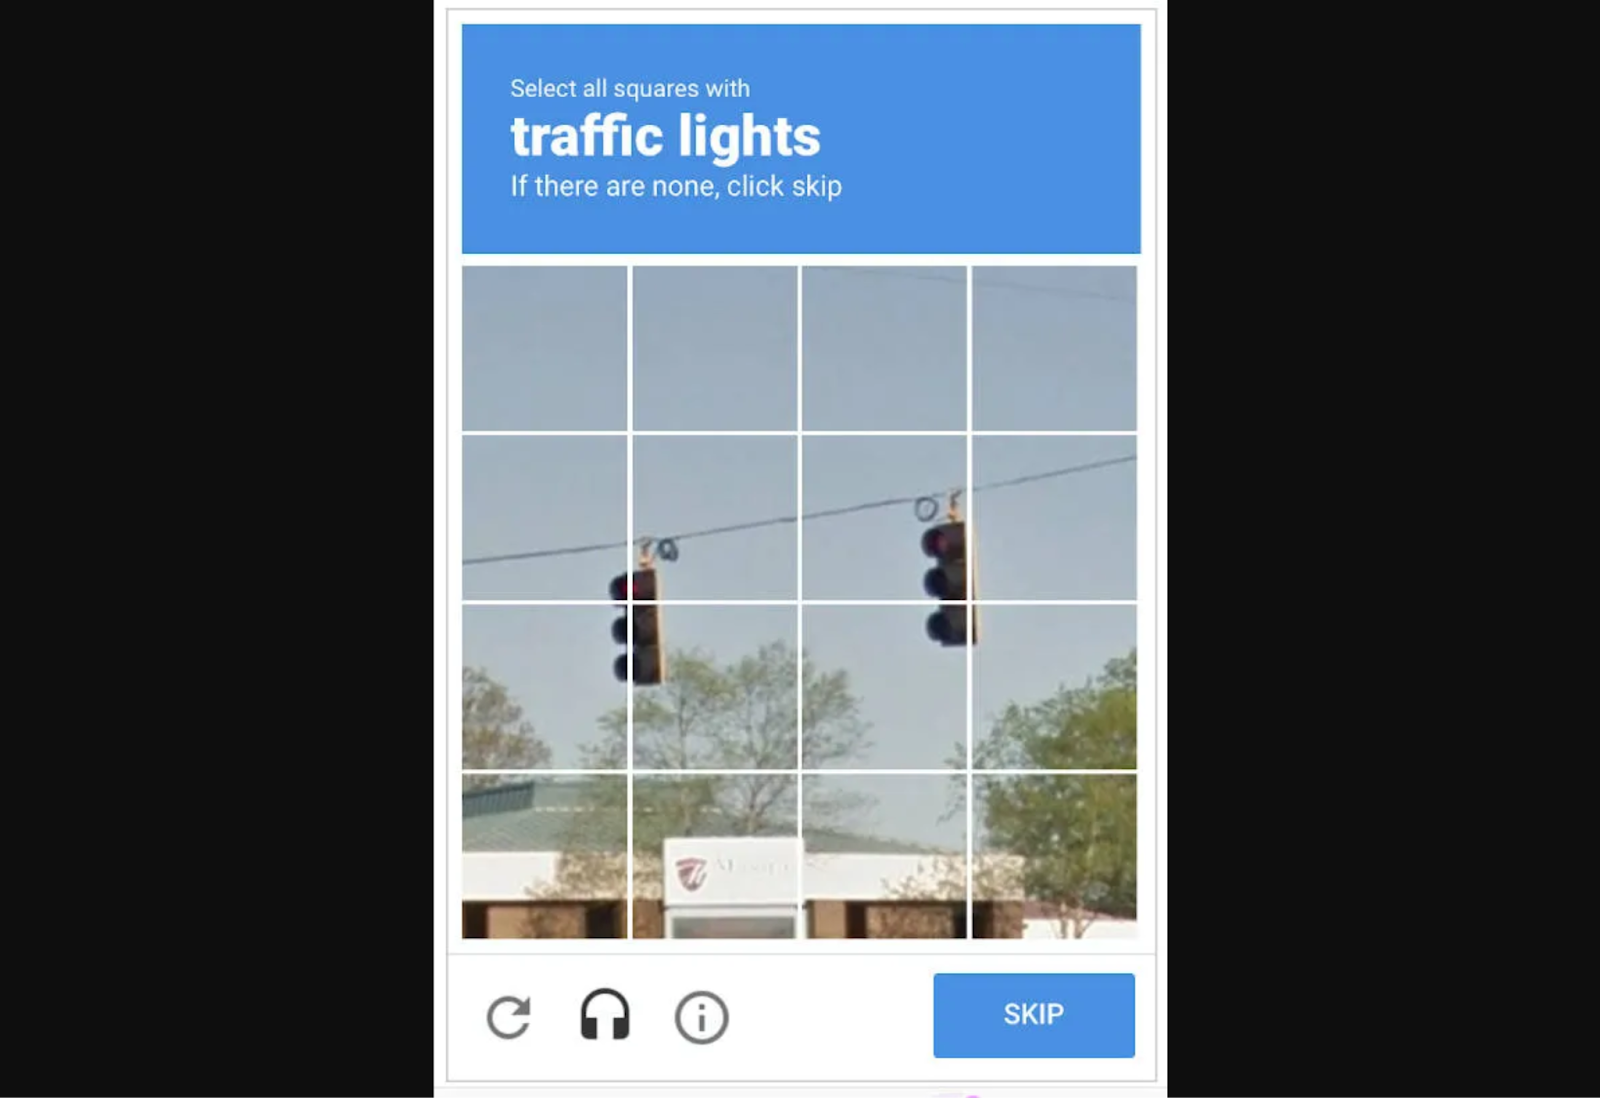
Many people fail CAPTCHA tests and have no idea what they did wrong. For example, a prompt instructing users to “select all squares with traffic lights” seems simple enough, but it gets complicated if a sliver of the pole is in another square. Should they select that box, or is that what an algorithm would do?
Although bot capabilities have grown by magnitudes, humans have remained the same. As tests get progressively more difficult, they feel less inclined to attempt them. One survey shows nearly 59% of people will stop using a product after several bad experiences. If authentication is too cumbersome or complex, they might stop using the website entirely.
People can fail these tests for various reasons, including technical ones. If they block third-party cookies, have a local proxy running, or have not updated their browser in a while, they may keep failing, regardless of how many times they try.
Authentication Issues With CAPTCHA
Due to the reasons mentioned above, most types of CAPTCHA are inherently inaccessible. This is especially true for people with disabilities, as these challenge-response tests were not designed with their needs in mind. Some of the common issues include the following:
Issues Related To Visuals And Screen Reader Use
Screen readers cannot read standard visual CAPTCHAs, such as the distorted text test, since the jumbled, contorted words are not machine-readable. The image classification and sliding puzzle methods are similarly inaccessible.
In one WebAIM survey conducted from 2023 to 2024, screen reader users agreed CAPTCHA was the most problematic item, ranking it above ambiguous links, unexpected screen changes, missing alt text, inaccessible search, and lack of keyboard accessibility. Its spot at the top has remained largely unchanged for over a decade, illustrating its history of inaccessibility.
Issues Related To Hearing and Audio Processing
Audio CAPTCHAs are relatively uncommon because web development best practices advise against autoplay audio and emphasize the importance of user controls. However, audio CAPTCHAs still exist. People who are hard of hearing or deaf may encounter a barrier when attempting these tests. Even with assistive technology, the intentional audio distortion and background noise make these samples challenging for individuals with auditory processing disorders to comprehend.
Issues Related To Motor And Dexterity
Tests requiring motor and dexterity skills can be challenging for those with motor impairments or physical disabilities. For example, someone with a hand tremor may find the sliding puzzles difficult. Also, the image classification tests that load more images until none that fit the criteria are left may pose a challenge.
Issues Related To Cognition And Language
As CAPTCHAs become increasingly complex, some developers are turning to tests that require a combination of creative and critical thinking. Those that require users to solve a math problem or complete a puzzle can be challenging for people with dyslexia, dyscalculia, visual processing disorders, or cognitive impairments.
Why Assistive Technology Won’t Bridge The Gap
CAPTCHAs are intentionally designed for humans to interpret and solve, so assistive technology like screen readers and hands-free controls may be of little help. ReCAPTCHA in particular poses an issue because it analyzes background activity. If it flags the accessibility devices as bots, it will serve a potentially inaccessible CAPTCHA.
Even if this technology could bridge the gap, web developers shouldn’t expect it to. Industry standards dictate that they should follow universal design principles to make their websites as accessible and functional as possible.
CAPTCHA’s accessibility issues could be forgiven if it were an effective security tool, but it is far from foolproof since bots get it right more than humans do. Why keep using a method that is ineffective and creates barriers for people with disabilities?
There are better alternatives.
Principles For Accessible Authentication
The idea that humans should consistently outperform algorithms is outdated. Better authentication methods exist, such as multifactor authentication (MFA). The two-factor authentication market will be worth an estimated $26.7 billion by 2027, underscoring its popularity. This tool is more effective than a CAPTCHA because it prevents unauthorized access, even with legitimate credentials.
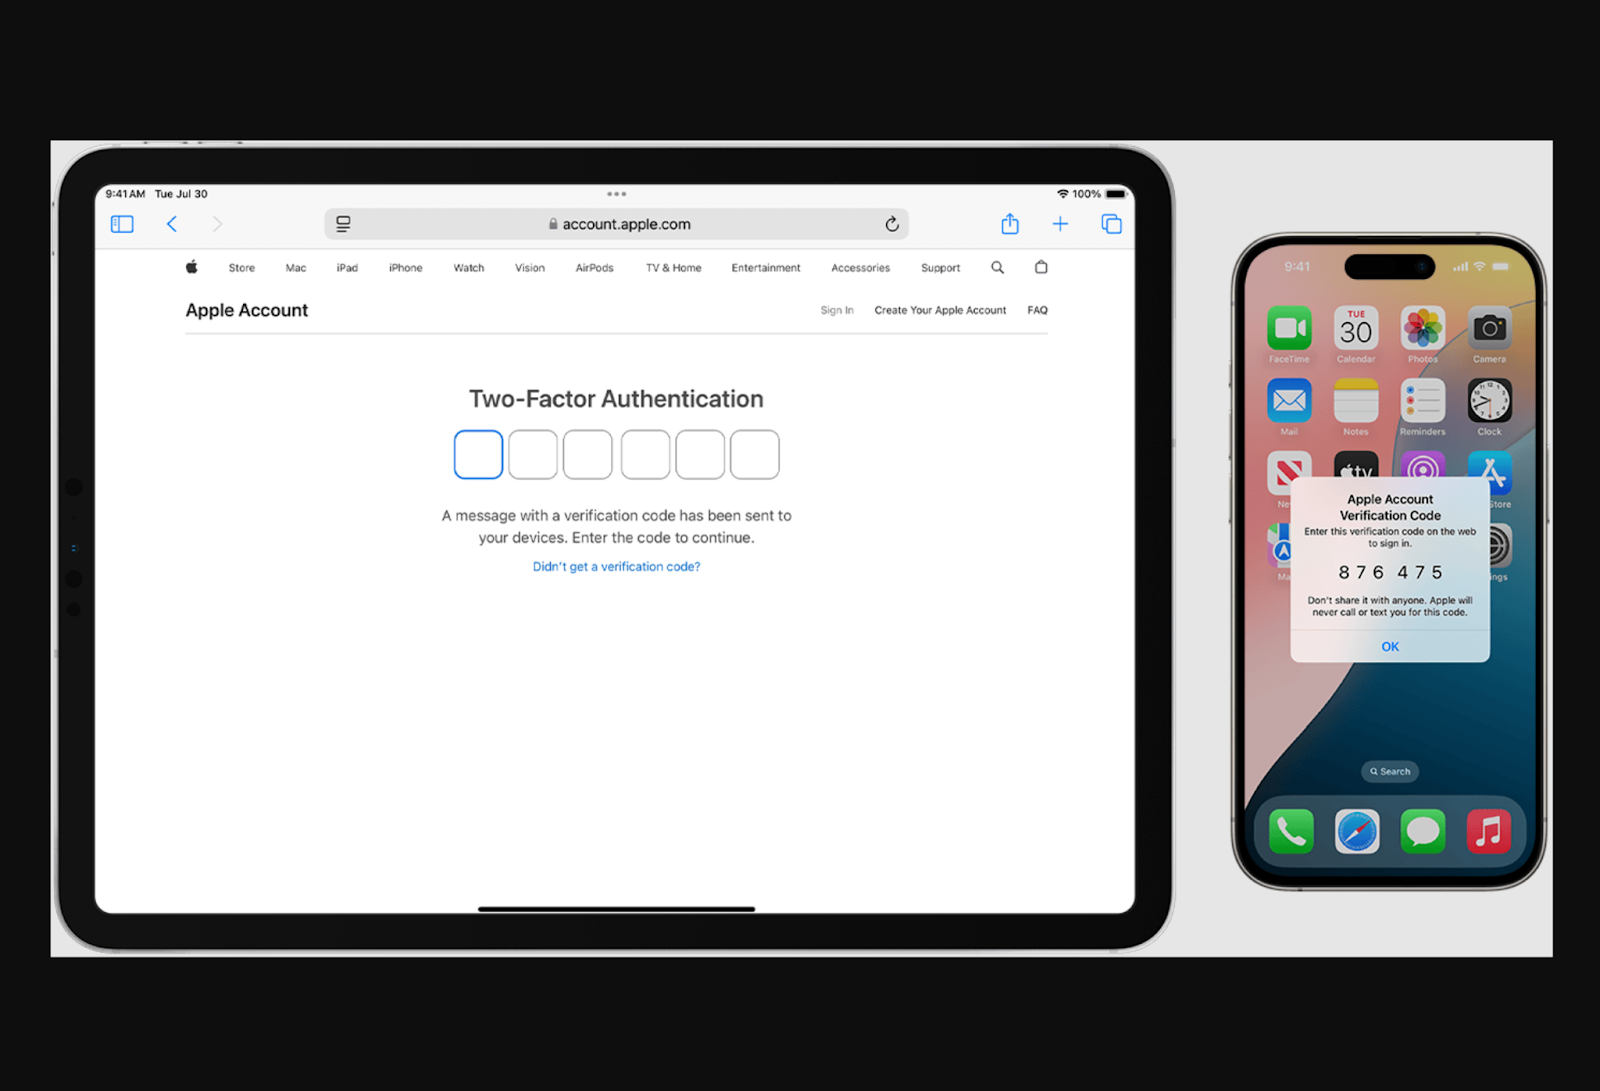
Ensure your MFA technique is accessible. Instead of having website visitors transcribe complex codes, you should send push notifications or SMS messages. Rely on the verification code autofill to automatically capture and enter the code. Alternatively, you can introduce a “remember this device” feature to skip authentication on trusted devices.
Apple’s two-factor authentication approach is designed this way. A trusted device automatically displays a six-digit verification code, so they do not have to search for it. When prompted, iPhone users can tap the suggestion that appears above their mobile keyboard for autofill.
Single sign-on is another option. This session and user authentication service allows people to log in to multiple websites or applications with a single set of login credentials, minimizing the need for repeated identity verification.
One-time-use “magic links” are an excellent alternative to reCAPTCHA and temporary PINs. Rather than remembering a code or solving a puzzle, the user clicks on a button. Avoid imposing deadlines because, according to WCAG Success Criterion 2.2.3, users should not face time limits since those with disabilities may need more time to complete specific actions.
Alternatively, you could use Cloudflare Turnstile. It authenticates without showing a CAPTCHA, and most people never even have to check a box or hit a button. The software works by issuing a small JavaScript challenge behind the scenes to automatically differentiate between bots and humans. Cloudflare Turnstile can be embedded into any website, making it an excellent alternative to standard classification tasks.
Testing And Evaluation Of Accessible Authentication Designs
Testing and evaluating your accessible alternative authentication methods is essential. Many designs look good on paper but do not work in practice. If possible, gather feedback from actual users. An open beta may be an effective way to maximize visibility.
Remember, general accessibility considerations do not only apply to people with disabilities. They also include those who are neurodivergent, lack access to a mobile device, or use assistive technology. Ensure your alternative designs consider these individuals.
Realistically, you cannot create a perfect system since everyone is unique. Many people struggle to follow multistep processes, solve equations, process complex instructions, or remember passcodes. While universal web design principles can improve flexibility, no single solution can meet everyone’s needs.
Regardless of the authentication technique you use, you should present users with multiple authentication options upfront. They know their capabilities best, so let them decide what to use instead of trying to over-engineer a solution that works for every edge case.
Address The Accessibility Problem With Design Changes
A person with hand tremors may be unable to complete a sliding puzzle, while someone with an audio processing disorder may have trouble with distorted audio samples. However, you cannot simply replace CAPTCHAs with alternatives because they are often equally inaccessible.
QR codes, for example, may be difficult to scan for those with reduced fine motor control. People who are visually impaired may struggle to find it on the screen. Similarly, biometrics can pose an issue for people with facial deformities or a limited range of motion. Addressing the accessibility problem requires creative thinking.
You can start by visiting the Web Accessibility Initiative’s accessibility tutorials for developers to better understand universal design. Although these tutorials focus more on content than authentication, you can still use them to your advantage. The W3C Group Draft Note on the Inaccessibility of CAPTCHA provides more relevant guidance.
Getting started is as easy as researching best practices. Understanding the basics is essential because there is no universal solution for accessible web design. If you want to optimize accessibility, consider sourcing feedback from the people who actually visit your website.
Further Reading